

How to Take Better Outfit Photos for Instagram: The Indian Streetwear Creator's Guide
Better fit pics come from five things: shooting in golden hour or open shade (never harsh sunlight), using locations with depth and texture (not blank walls), avoiding posed shots in favour of caught-in-motion frames, shooting more frames than you think you need (50+ per outfit, choose 1-3), and editing minimally (no heavy filters that fight the outfit). iPhone is enough — gear doesn't fix bad composition. The shift from amateur to creator fit pics is 95% the photo, 5% the camera.
The Indian streetwear creator economy runs on Instagram fit pics. Building an audience as a personal style account, attracting brand partnerships, or simply having outfit photos that don't look like 'mirror selfie in your bathroom' requires a specific skill set most aspiring creators never learn properly. This guide breaks down exactly what separates strong fit pics from weak ones — and why most Indian creators are making the same fixable mistakes.
None of this requires expensive gear. iPhone 12 or newer is more than sufficient. The difference between amateur and creator-level fit pics is 95% composition, lighting, and process — and 5% camera technology. This guide covers what actually moves the needle.
The Five Rules That Separate Strong Fit Pics from Weak Ones
Rule 1: Light Beats Everything
Good light makes mediocre composition look professional. Bad light makes great composition look amateur. Light is the single highest-impact variable in outfit photography. Most Indian creators shoot in the worst possible light (midday sun, indoor fluorescent, mixed temperature lighting) and wonder why their photos look amateur.
The two right times to shoot: Golden hour (60 minutes before sunset and 30 minutes after sunrise) — warm, soft, directional light that flatters everything. Open shade (in shadow but with sky overhead) — even, cool, glare-free light good for graphics and details.
Times to avoid: Midday direct sun (harsh shadows under eyes, blown-out highlights, bleached colours). Indoor fluorescent (greenish cast, flat lighting). Mixed indoor and outdoor light (impossible to colour-correct properly).
Rule 2: Location Has Depth or Texture
Blank walls kill fit pics. The eye needs something to look at beyond the outfit — depth, texture, contrast, or visual interest. Strong locations have one or more: leading lines (street perspective, train tracks, building edges), texture (brick, concrete, plant walls), depth (distance between subject and background), or contrast (urban vs natural, light vs dark).
Strong Mumbai locations: Marine Drive promenade (depth + texture), Bandra street art walls (texture + colour), South Bombay heritage architecture (depth + light).
Strong Bangalore locations: Indiranagar 100ft Road murals, Cubbon Park entrance archways, Church Street side alleys.
Strong Delhi locations: Hauz Khas Village architecture, Lodi Art District walls, Connaught Place colonnades.
Avoid: blank white walls, generic café interiors, your living room with random furniture in the background.
Rule 3: Movement Beats Posing
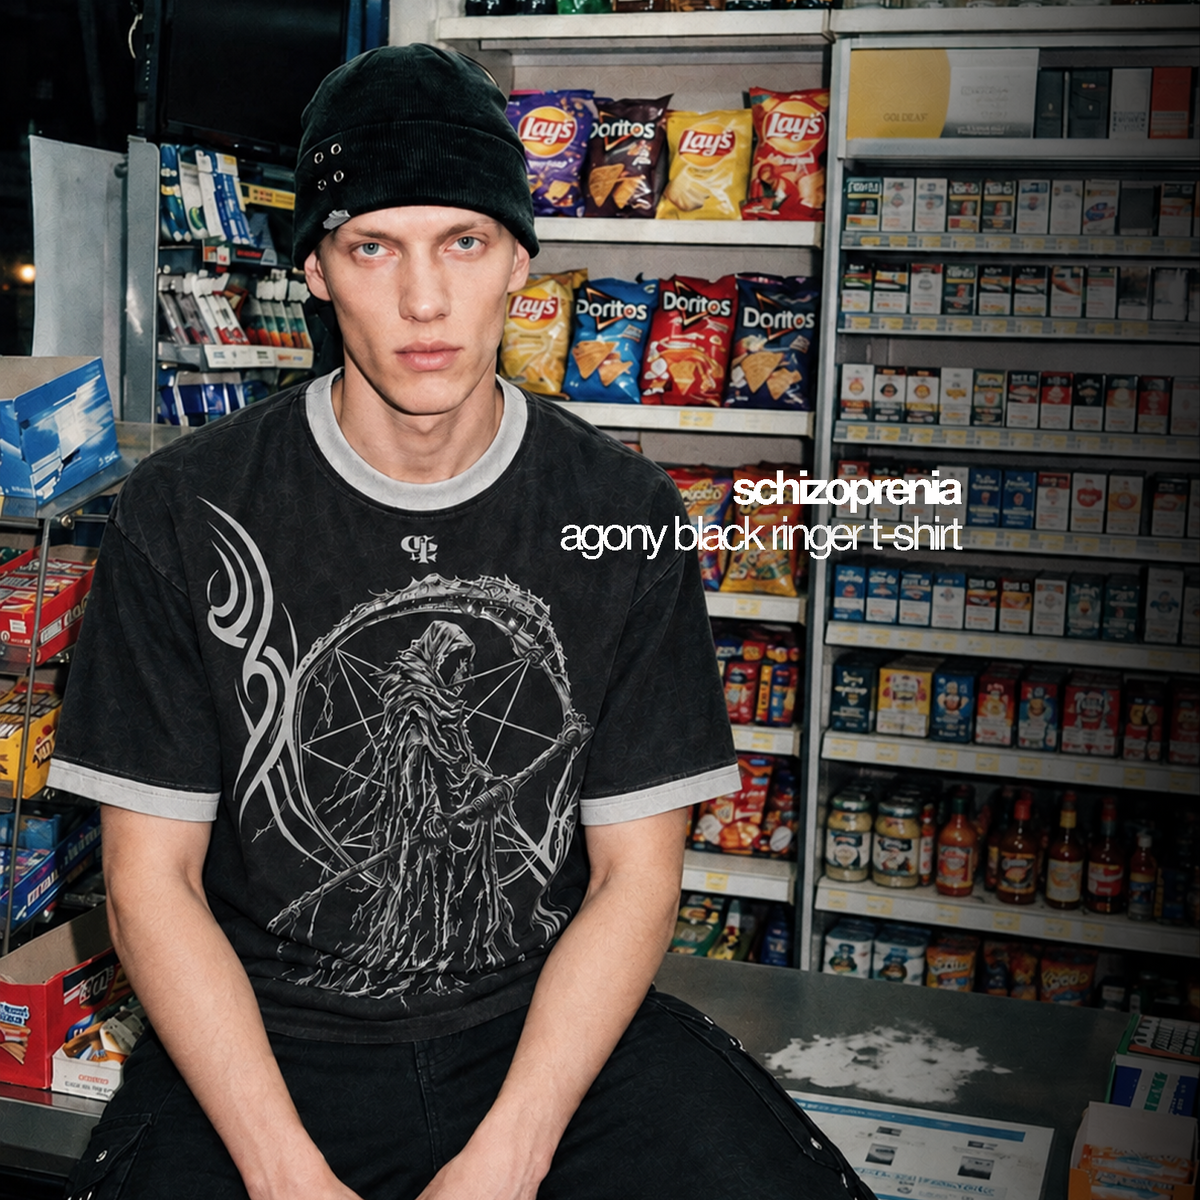
Posed photos look posed. Caught-in-motion photos look natural. The single biggest amateur tell is the stiff, awkward, hand-in-pocket pose that screams 'I don't know what to do with my body.' Solution: shoot during actual movement.
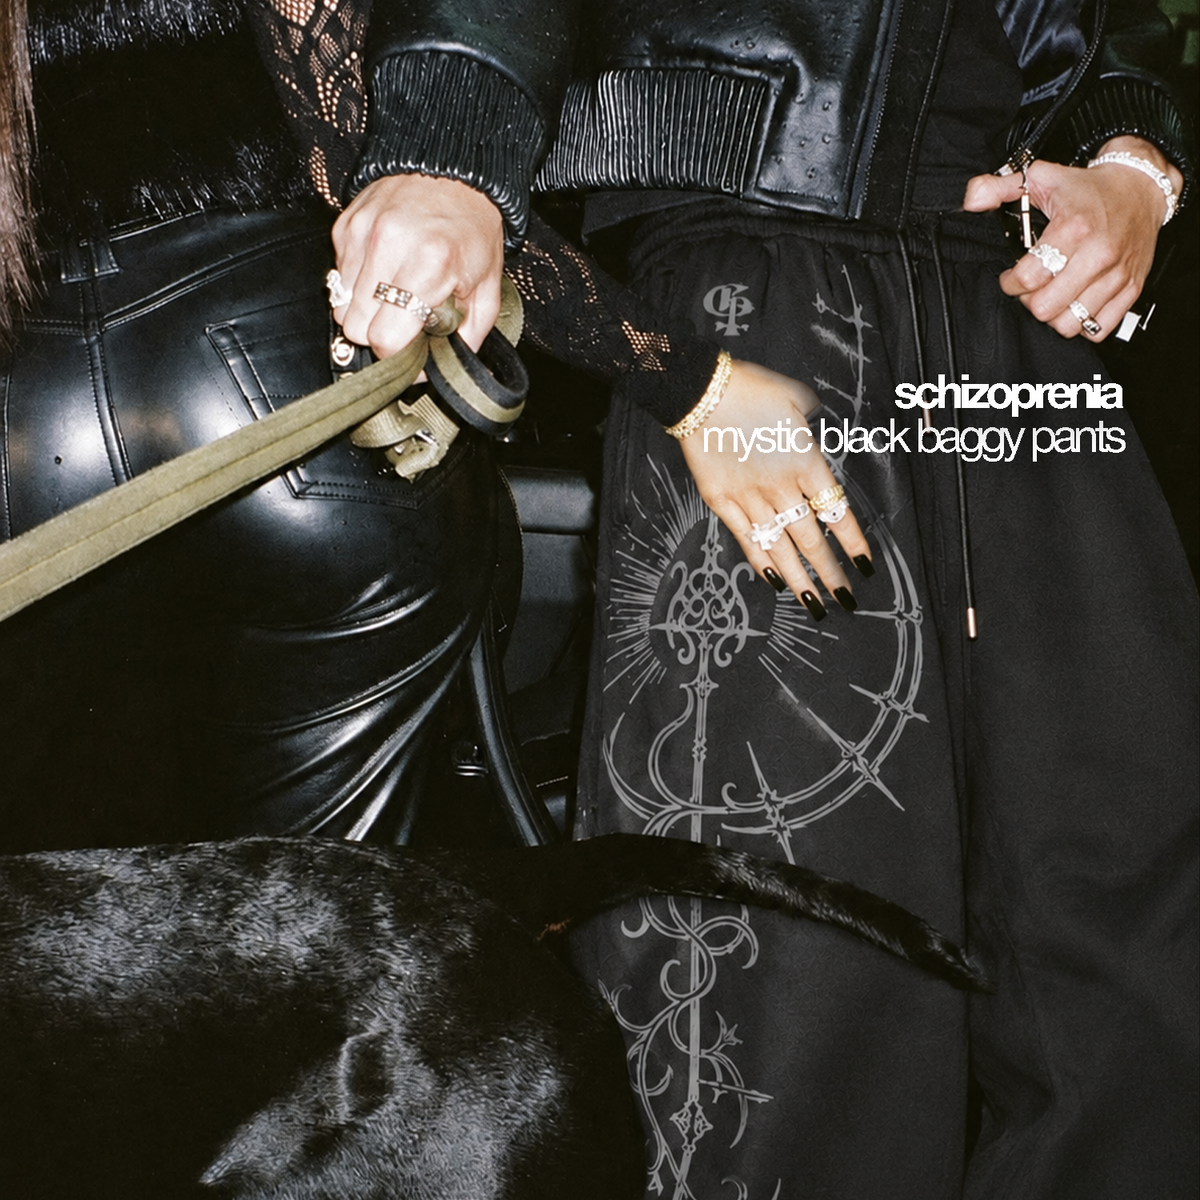
Movement techniques: Walk past the camera at moderate pace, photographer takes 8-10 frames. Sit down naturally on a step or edge while photographer shoots the transition. Look away from camera at something genuinely interesting. Have a conversation with someone off-frame while being shot. Drink from a coffee cup or interact with an object.
The goal: Photos that look like someone happened to capture you, not photos that look like you arranged yourself for the shot. The difference reads instantly on social media.
Rule 4: Shoot Volume, Edit Ruthlessly
Strong creators shoot 30-100+ frames per outfit and post 1-3. Amateur creators shoot 3-5 frames and post all 3. Volume is non-negotiable. You cannot identify your best frames until you have many to choose from.
The shooting protocol: For each outfit, shoot at minimum 30 frames across 3 different angles or positions. For a serious post, 80-100+ frames. Review them later, not in the moment. Identify your top 5, then choose 1-3 for posting.
Why this works: Even the same outfit in the same location with the same pose will have one frame where everything aligns — expression, lighting, body angle, composition. You can't engineer that frame; you can only shoot enough to catch it.
Rule 5: Edit Minimally
Heavy filters fight your outfit. The point is showing the clothes; over-edited photos draw attention to the edit instead. Most strong streetwear creators edit subtly — small adjustments to exposure, contrast, and warmth, no preset filters, no aggressive colour grading.
The minimal edit protocol: 1) Crop to improve composition if needed. 2) Adjust exposure (brighten if underexposed by 0.3-0.5 stops). 3) Adjust contrast slightly (+10 to +20 max). 4) Adjust warmth if the colour temperature feels off. 5) Sharpen subtly (+10 to +20). Done.
Avoid: VSCO heavy presets, Instagram heavy filters, oversaturated edits, blue/orange teal grading that's been overused since 2018, beauty filters that distort the face.
The Best iPhone Settings for Streetwear Fit Pics
Camera App Settings
• Format: HEIF (higher quality, smaller file size than JPEG)
• Live Photos: Off (creates motion blur, harder to choose specific frames)
• Grid: On (helps with composition, particularly rule of thirds)
• Level: On (prevents tilted horizons that signal amateur)
• Lens Correction: On
• Photographic Styles: Standard (avoid Vibrant or Rich Contrast — they look unnatural)
Shooting Mode
• Photo mode (not Portrait) — Portrait mode's fake background blur looks artificial and fights the location depth
• 0.5x ultrawide for full-body shots with dramatic background (great for street photography contexts)
• 1x main for standard fit pics — the most natural-looking lens
• Avoid 2x or 3x zoom for fit pics — they flatten the image and look surveillance-camera-like
• Use Burst mode (hold shutter button) for motion shots to capture multiple frames quickly
Manual Settings (For Advanced Users)
• Lock focus and exposure by long-pressing the subject in frame
• Slide the sun icon down to reduce exposure if highlights are blowing out
• Use the Halide app for full manual control if you want RAW shooting
• Use ProRAW if available (iPhone 12 Pro and later) for maximum editing flexibility
The 7 Best Poses for Streetwear Fit Pics
1. The Walking Past Camera
Camera at hip height, photographer shoots burst as you walk past at moderate pace. Look slightly ahead or at the ground, not at the camera. Hands relaxed or in pockets. The most natural-looking fit pic style.
2. The Seated Step
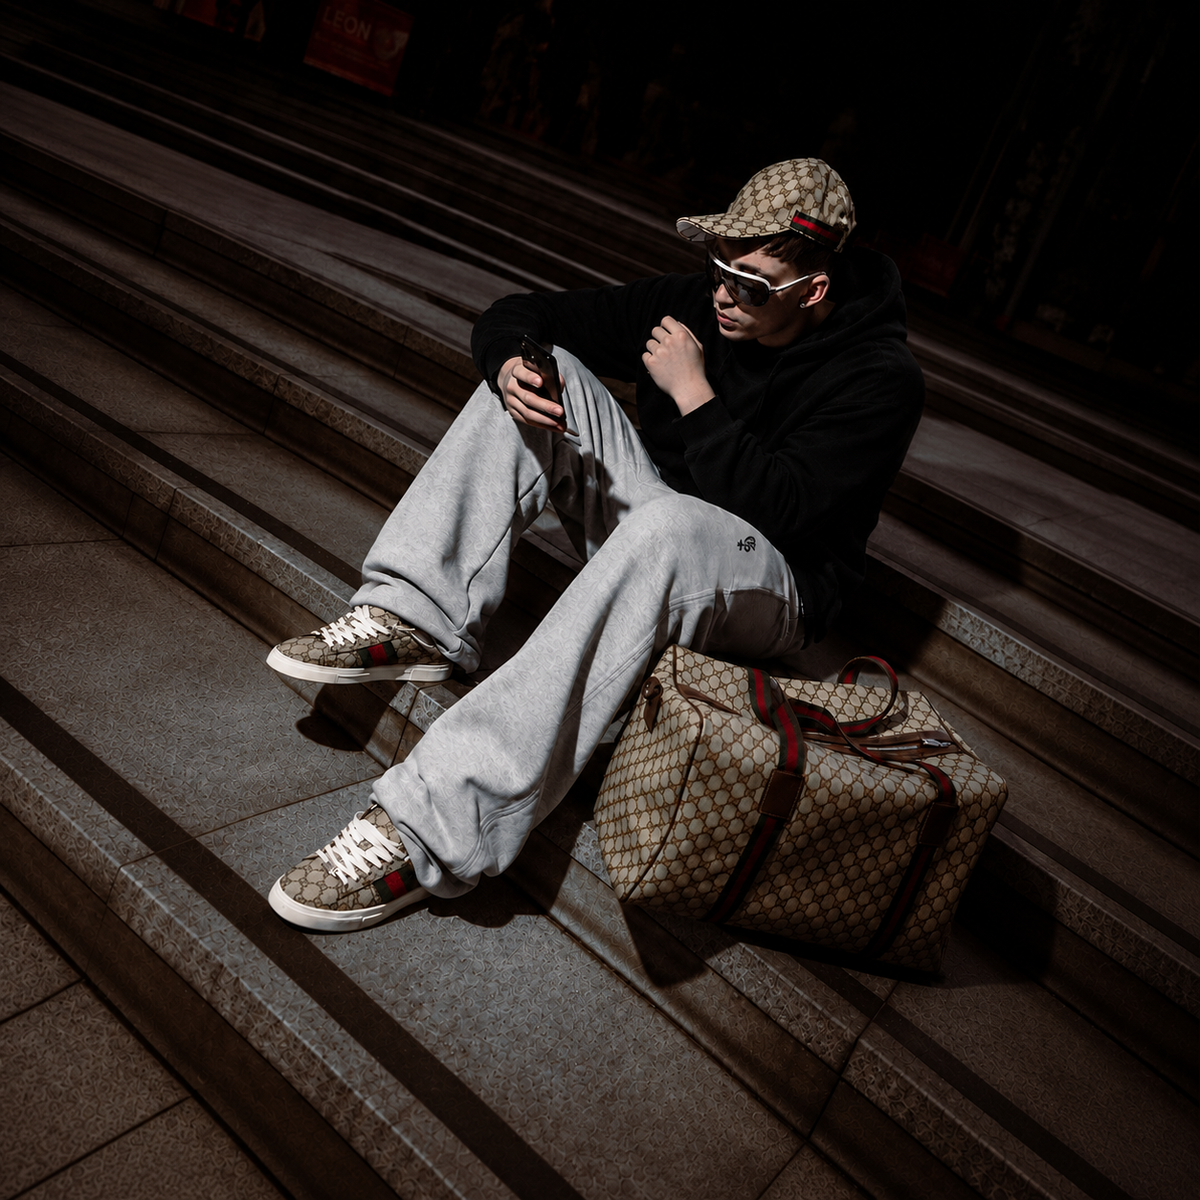
Sit on a step, ledge, or curb. One leg bent, one extended. Lean forward slightly or back casually. Camera at standing height, slightly above you. Works particularly well for showing baggy pants silhouette.
3. The Looking Away
Look at something genuinely interesting off-frame — a building, the sky, traffic. Don't fake-look — your eyes will signal artificiality. Hands in pockets, drink in hand, or holding phone naturally.
4. The Mid-Conversation
Talk to someone off-frame (or talk to yourself if alone). Hand gestures, facial movement, body slightly turned. Looks captured rather than staged. Best when someone is off-camera you're genuinely talking to.
5. The Lean
Lean against a wall, doorframe, pillar, or vehicle. One leg crossed or angled. Shoulders relaxed. Photographer shoots from slight angle, not straight-on. Classic streetwear pose, works for most builds.
6. The Mirror Selfie (Done Well)
Camera at chest height, not face height. Free hand at side or in pocket (not awkwardly held). Slight angle to the mirror (not directly facing it). Avoid bathroom mirrors — use full-length mirrors in well-lit rooms or studio spaces.
7. The Sitting in Vehicle
Sitting in a car (passenger side or back), motorcycle, or auto. Door open or window down for natural light. Photographer outside the vehicle. Adds context and lifestyle layer beyond the outfit alone.
Locations That Work for Different Outfit Types
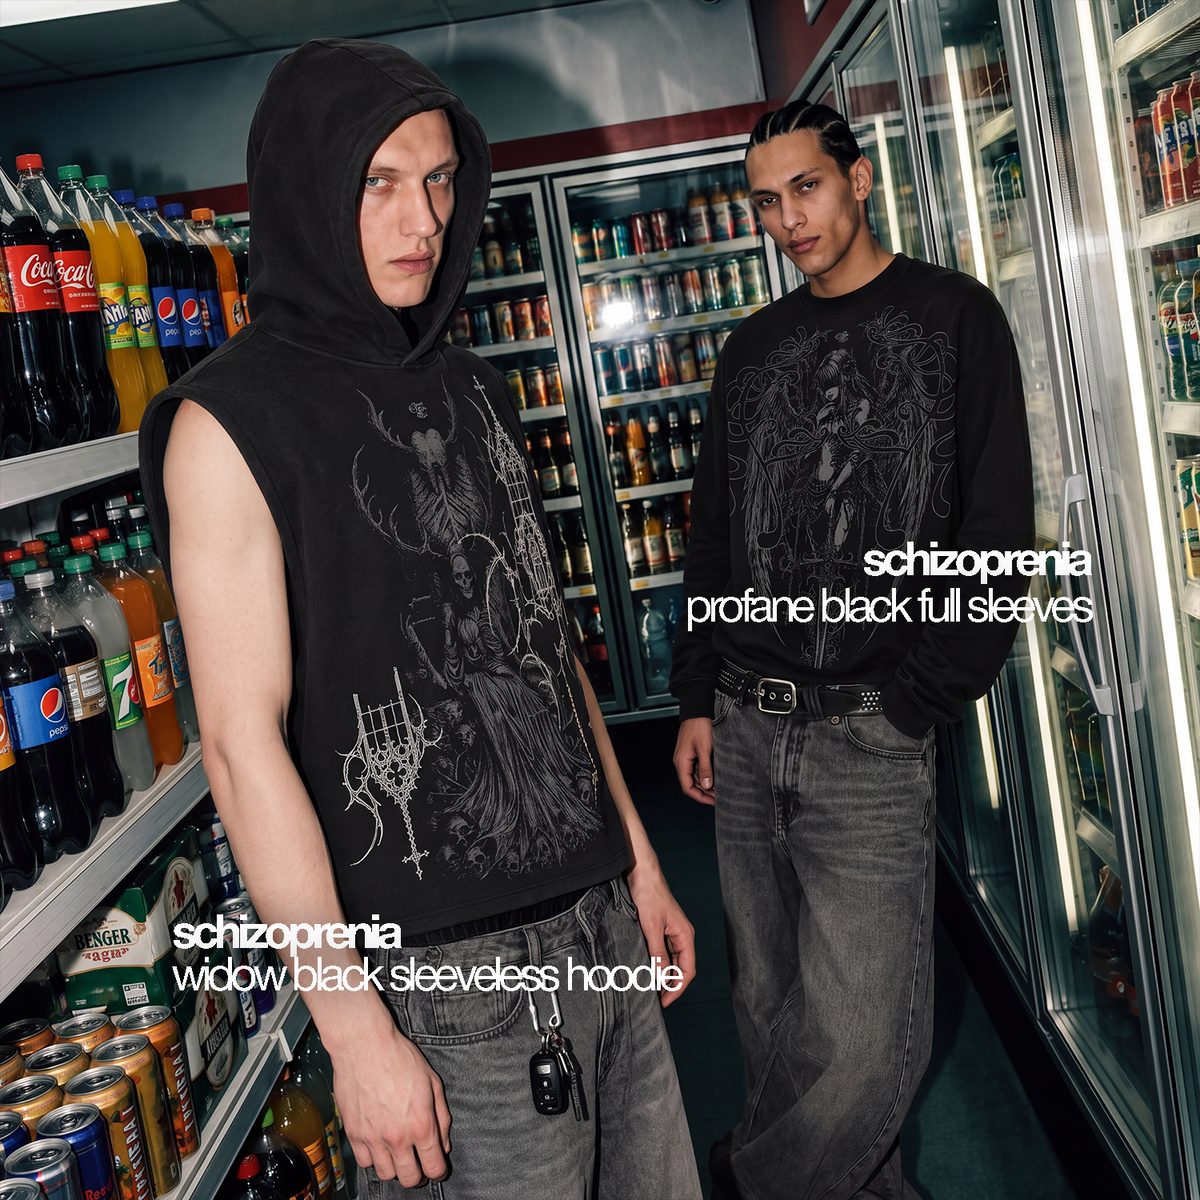
All-black or monochrome outfits: Concrete walls, industrial backgrounds, glass-fronted buildings, urban architecture. Avoid colourful backgrounds that fight monochrome.
Bright or printed outfits: Neutral backgrounds (white, beige, cream walls), simple architecture, natural environments. Avoid busy or colourful backgrounds that compete with the outfit.
Vintage or thrifted aesthetics: Heritage buildings, vintage cars in background, weathered surfaces, locations with character. Avoid overly modern or sterile environments.
Athletic or gym-influenced outfits: Outdoor sports facilities, basketball courts, urban athletic spaces, parks with structure. Avoid generic café settings.
Layered or complex outfits: Simple, clean backgrounds that don't compete with outfit details. Single-colour walls, clean architectural lines.
Common Fit Pic Mistakes Indian Creators Make
• Shooting in midday harsh sun (kills photo quality regardless of outfit)
• Using blank white walls as backgrounds (no depth, no visual interest)
• Posing with hands in pockets and forced smile (looks stiff and amateur)
• Shooting only 3-5 frames then posting one (no selection pool)
• Over-editing with heavy filters (fights the outfit)
• Cropping out shoes (always include full silhouette for streetwear)
• Wide angle distortion (shooting too close with iPhone makes proportions look weird)
• Cluttered backgrounds (random objects, people, traffic distracting from outfit)
• Inconsistent edit style across posts (looks like multiple different creators)
• Adding text/graphics to fit pics (the photo should stand alone)
How to Find a Photographer or Photograph Yourself
If You're Photographing Yourself
Use a tripod (any cheap tripod under ₹500 works). Phone timer on burst mode. Set up location, set timer, walk into frame, perform motion. Review and reshoot multiple times. This solo process is more common than people realise — many strong creators shoot themselves.
If You Have a Friend Photograph You
Brief them properly. Show them example photos. Tell them exact framing you want (full body, hip-up, etc.). Have them shoot burst mode for motion shots. Don't direct every frame — let them shoot 50+ frames freely and choose later. Better to over-shoot than under-shoot.
If You Hire a Photographer
₹1,500-3,000 per 1-2 hour session in Indian metros for emerging photographers. Find them on Instagram (search location + 'photographer' or '#bombayphotographer'). Look at their existing work for style match before booking. Establish clear deliverables — number of edited photos, raw files included, usage rights.
How GENRAGE Pieces Photograph
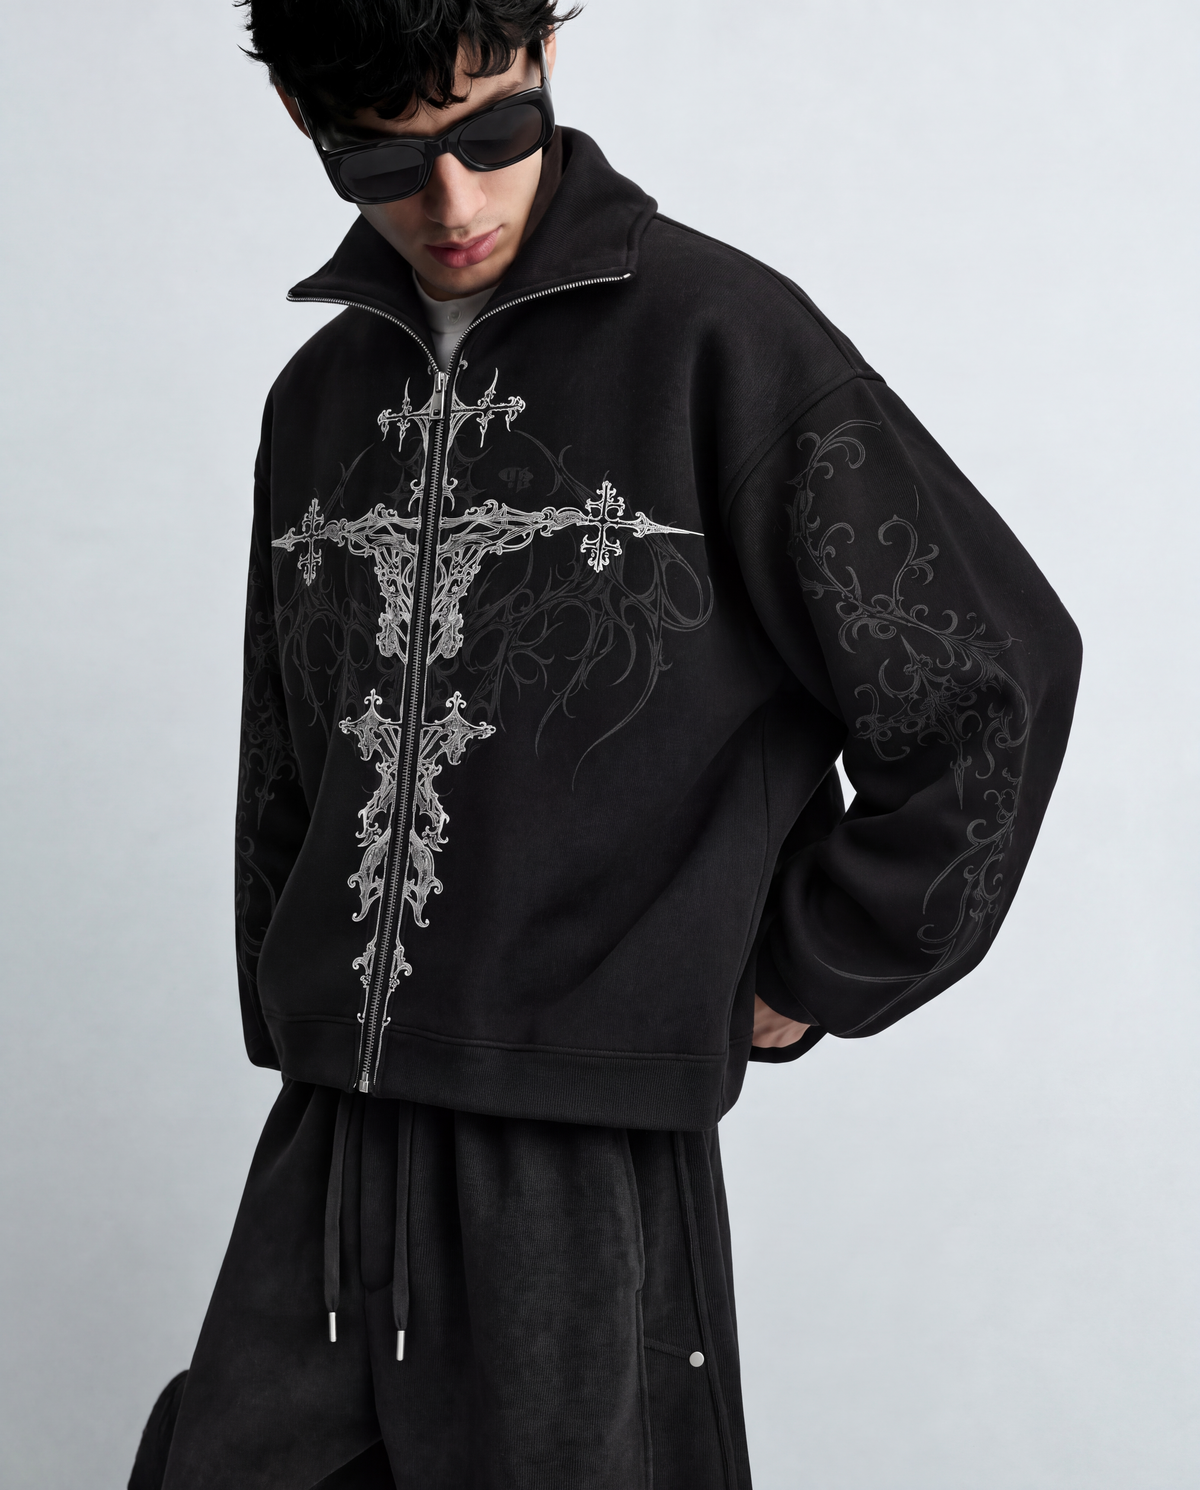
GENRAGE's design choices specifically aid photography. The dark-dominant palette photographs cleanly in golden hour and shaded conditions (cream and white pieces blow out in bright Indian sun). The boxy oversized silhouettes hold structure in motion shots (slim-fit pieces lose silhouette in dynamic poses). The minimal logo visibility means the outfit reads as composition rather than as 'brand showcase' — making the photo about you, not the brand.
This is structural — well-designed streetwear is also well-photographing streetwear. Pieces designed for visual coherence translate to photographs that read as intentional rather than chaotic.
Frequently Asked Questions
How do I take better outfit photos for Instagram?
Five core changes will improve your fit pics immediately: shoot in golden hour or open shade (never harsh midday sun), choose locations with depth or texture (not blank walls), capture motion rather than static poses, shoot 30-100+ frames per outfit and post only 1-3, and edit minimally with subtle adjustments rather than heavy filters. Composition matters far more than camera gear.
What's the best time of day to shoot outfit photos?
Golden hour — 60 minutes before sunset and 30 minutes after sunrise — provides the most flattering natural light for outfit photography. Open shade (in shadow with sky overhead) is the second-best option for any time of day. Avoid midday direct sun, which creates harsh shadows under the eyes and bleaches out fabric colours. Indoor lighting is generally too inconsistent for quality fit pics.
Do I need a professional camera for Instagram fit pics?
No. iPhone 12 or newer is more than sufficient for Instagram-quality fit pics. The difference between amateur and creator-level photos is 95% composition, lighting, and process — only 5% camera technology. Investing in better gear without improving fundamentals doesn't fix bad photos. Master the iPhone first, then consider gear upgrades.
What locations work best for streetwear photos?
Locations with depth, texture, or visual contrast — urban architecture, street art walls, brick or concrete textures, heritage buildings with character, industrial backgrounds. In Mumbai: Marine Drive, Bandra street art, South Bombay heritage. In Bangalore: Indiranagar murals, Cubbon Park entrances. In Delhi: Hauz Khas, Lodi Art District. Avoid blank walls and generic café interiors.
How many photos should I take per outfit?
30-100+ frames per outfit for casual posts, 80-150+ for serious posts. Strong creators shoot extensive volume and post only 1-3 of the best frames. The shift from amateur to creator output is largely about shooting volume — you cannot identify your best frame until you have many to choose from. Burst mode and multiple angles per outfit are essential.
What poses work best for streetwear fit pics?
Motion-based poses look more natural than static poses. Strong options: walking past camera (burst mode), sitting on step or ledge, looking away at something off-frame, talking to someone off-camera, leaning against wall or doorframe. Avoid stiff straight-on hands-in-pockets poses — they look amateur and forced. Capture movement and natural body language rather than arranging yourself for the shot.
Light beats gear. Motion beats posing. Volume beats single shots. Always.
,%20using%20locations%20with%20depth%20and%20texture%20(not%20blank%20walls),%20avoiding%20posed%20shots%20in%20favour%20of%20caug...)
Leave a comment
This site is protected by hCaptcha and the hCaptcha Privacy Policy and Terms of Service apply.